API 1104 pdf download
API 1104 pdf download.Welding of Pipelines and Related Facilities
1.1 SCOPE
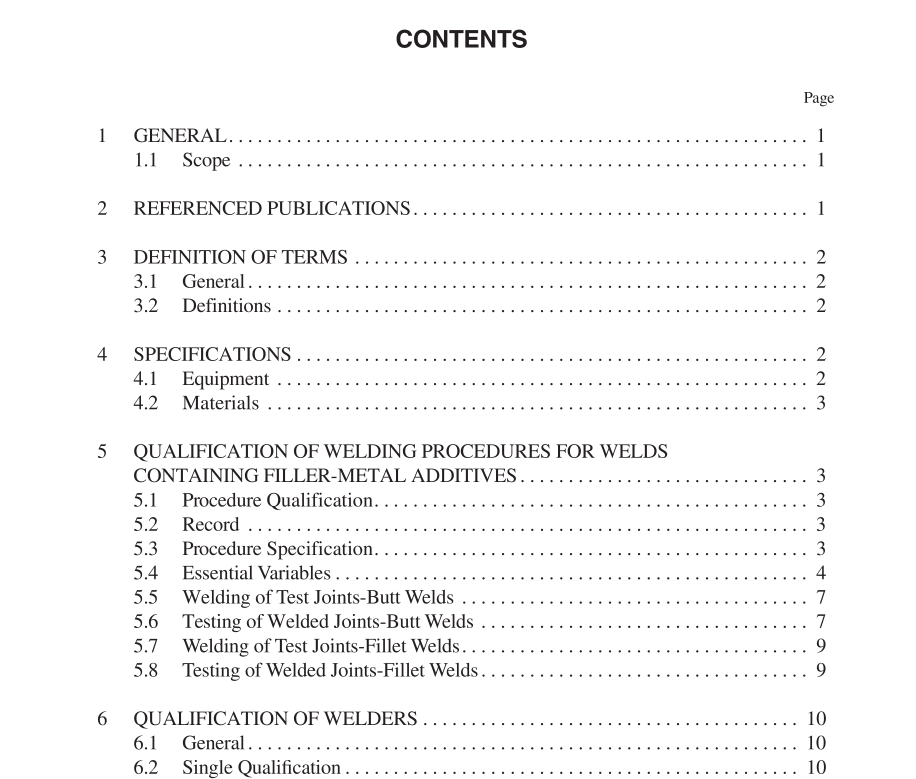
This standard covers the gas and arc welding of butt, fillet, and socket welds in carbon and low-alloy steel piping used in the compression, pumping, and transmission of crude petro- leum, petroleum products, fuel gases, carbon dioxide, nitro- gen and, where applicable, covers welding on distribution systems. It applies to both new construction and in-service welding. The welding may be done by a shielded metal-arc welding, submerged arc welding, gas tungsten-arc welding, gas metal-arc welding, flux-cored arc welding, plasma arc welding, oxyacetylene welding, or flash butt welding process or by a combination of these processes using a manual, semi- automatic, mechanized, or automatic welding technique or a combination of these techniques. The welds may be produced by position or roll welding or by a combination of position and roll welding. This standard also covers the procedures for radiographic, magnetic particle, liquid penetrant, and ultrasonic testing, as well as the acceptance standards to be applied to production welds tested to destruction or inspected by radiographic, magnetic particle, liquid penetrant, ultrasonic, and visual test- ing methods. The values stated in either inch-pound units or SI units are to be regarded separately as standard. Each system is to be used independently of the other, without combining values in any way. Processes other than those described above will be consid- ered for inclusion in this standard. Persons who wish to have other processes included shall submit, as a minimum, the fol- lowing information for the committee’s consideration: a. A description of the welding process. b. A proposal on the essential variables. c. A welding procedure specification. d. Weld inspection methods. e. Types of weld imperfections and their proposed accep- tance limits. f. Repair procedures. It is intended that all work performed in accordance with this standard shall meet or exceed the requirements of this standard.
6.3 MULTIPLE QUALIFICATION
6.3.1 General For multiple qualification, a welder shall successfully com- plete the two tests described below, using qualified proce- dures. For the first test, the welder shall make a butt weld in the fixed position with the axis of the pipe either in the horizontal plane or inclined from the horizontal plane at an angle of not more than 45°. This butt weld shall be made on pipe with an outside diameter of at least 6.625 in. (168.3 mm) and with a wall thickness of at least 0.250 in. (6.4 mm) without a back- ing strip. The weld shall be acceptable if it meets the require- ments of 6.4 and either 6.5 or 6.6. Specimens may be removed from the test weld at the locations shown in Figure 12, or they may be selected at the relative locations shown in Figure 12 but without reference to the top of the pipe, or they may be selected from locations that are spaced equidistantly around the entire pipe circumference. The sequence of adja- cent specimen types shall be identical to that shown in Figure 12 for the various pipe diameters. For the second test, the welder shall lay out, cut, fit, and weld a full-sized branch-on-pipe connection. This test shall be performed with a pipe diameter of at least 6.625 in. (168.3 mm) and with a nominal wall thickness of at least 0.250 in. (6.4 mm). A full-size hole shall be cut in the run. The weld shall be made with the run-pipe axis in the horizon- tal position and the branch-pipe axis extending vertically downward from the run. The finished weld shall exhibit a neat, uniform workman-like appearance. The weld shall exhibit complete penetration around the entire circumference. Completed root beads shall not contain any burn-through of more than 1 / 4 in. (6 mm). The sum of the maximum dimensions of separate unrepaired burn-throughs in any continuous 12 in. (300 mm) length of weld shall not exceed 1 / 2 in. (13 mm). Four nick-break specimens shall be removed from the weld at the locations shown in Figure 10. They shall be prepared and tested in accordance with 5.8.1 and 5.8.2. The exposed surfaces shall meet the requirements of 5.8.3.
