API MPMS 2B pdf download
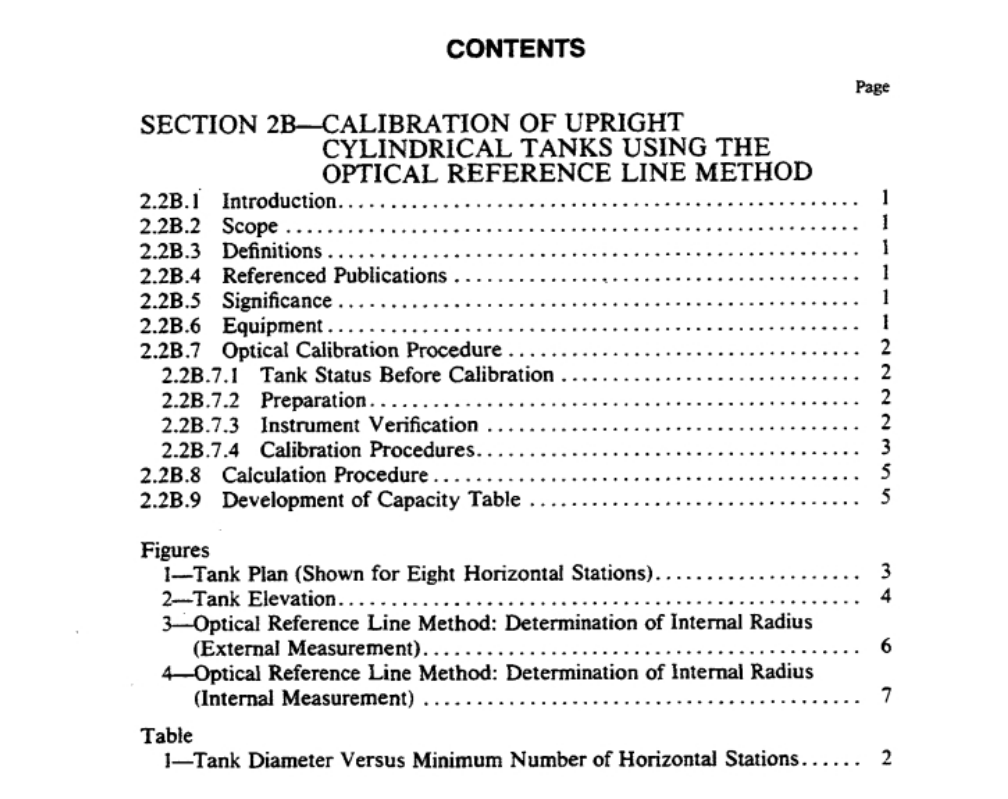
API MPMS 2B pdf download.Chapter 2 – Tank Calibration
2.2B.2 Scope
This standard describes measurement and calcula- tion procedures for determining the diameters of up- right welded (lap/butt) cylindrical tanks, or vertical cylindrical tanks, with a smooth outside surface and either foating or fixed roofs. This standard should be used in conjunction with API Standard 2550. For external application of the ORLM on insulated tanks, the insulation must be removed. The ORLM may be used on the interior of the tank; however, when the reference circumference on the bottom course is established externally, the insulation at the bottom ring must be removed. This measurement shall conform to the procedures described in API Standard 2550. Abnormally deformed tanks (that is, tanks that are dented or have other visible signs of damage) should be repaired before any calibration is undertaken. 2.2B.3 Definitions The definitions listed in Chapter 1 and API Standard 2550 are applicable to this chapter. In addition, the definitions given in 2.2B.3.1 through 2.2B.3.7 apply to the ORLM. 2.2B.3.1 A horizontal station is a preestablished location in the horizontal plane at ground level along the tank circumference. 2.2B.3.2 A vertical station is a preestablished loca- tion in the vertical plane along the tank shell, corte- sponding to a given horizontal station. 2.2B.3.3 The offset is the measurement observed through an optical device on the horizontal scale of a traversing magnetic trolley at each vertical station. 2.2B.3.4 The reference offset is the measurement observed through an optical device on the horizontal scale of a traversing magnetic trolley at the vertical station on the bottom plate. 2.2B.3.5 The reference circumference is the circum- ference of a tank measured by the MTSM on the bottom ring. 2.2B.3.6 The reference radius is the reference cir- cumference divided by 2π, where π= 3.141593. 2.2B.3.7 An optical device is an optical plummet or a theodolite equipped with a precision level.
2.2B.5 Significance
Accurate tank circumference/radius measurements are critical in determinations of liquid volume. These measurements are infuenced by both random errors associated with physical measurements and systematic errors associated with the particular device and/or procedure used. The combination of random and systematic errors has an impact on the overall preci- sion, or accuracy, of any measurement. The ORLM is as precise as the MTSM and can be used as an alternative method of determining tank circumferences or diameters (radii). b. An optical device mounted on a tripod or an equivalent supporting device. The device should have a perpendicular line of vision (a 90-degree line of sight) and should have leveling fixtures along three different axes. The perpendicularity of the optical ray (or vertical reference line) shall be within I in 20,000 over the tank height. c. A traversing magnetic trolley with a horizontal graduated scale (0.01-foot or 1-millimeter increments) used to measure the offset at different vertical stations. The magnetic trolley shall maintain its contact with the tank shell during the entire vertical traverse. The trolley shall be in good working order, and the zero on the scale shall be located closest to the tank shell. The numerical values etched on the scale shall be readable through the optical device. The scale’s ac- curacy shall be verified against a master tape. The combined resolution of the scale and the optical device shall enable the operator to read the offset measure- ment to the nearest 0.005 foot (or 1 millimeter) at any given vertical station. (Since the minimum resolution of the metric scale is 1 millimeter, this system has a better overall resolution.)
