API Spec 7 pdf download
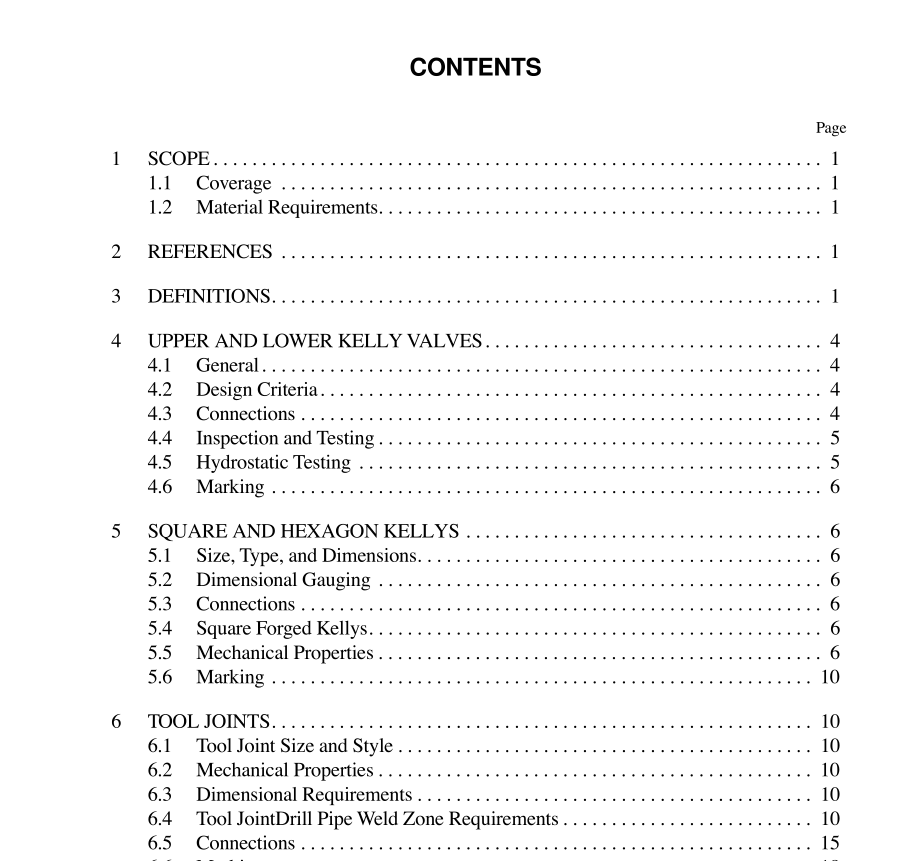
API Spec 7 pdf download.Specification for Rotary Drill Stem Elements
3 Definitions
For the purposes of this speciÞcation, the following deÞni- tions apply: 3.1 bevel diameter: The outer diameter of the contact face of the rotary shouldered connection. 3.2 bit sub: A sub, usually with 2 box connections, that is used to connect the bit to the drill stem. 3.3 box connection: A threaded connection on Oil Coun- try Tubular Goods (OCTG) that has internal (female) threads. 3.4 calibration system: A documented system of gauge calibration and control. 3.5 cold working: Plastic deformation of metal at a tem- perature low enough to insure or cause permanent strain. 3.6 decarburization: The loss of carbon from the surface of a ferrous alloy as a result of heating in a medium that reacts with the carbon at the surface.3.7 drift: A gauge used to check minimum ID of loops, ßowlines, nipples, tubing, casing, drill pipe, and drill collars. 3.8 drill collar: Thick-walled pipe to provide stiffness and concentration of weight at the bit. 3.9 drill pipe: A length of tube, usually steel, to which special threaded connections called tool joints are attached. 3.10 forging: (1) Plastically deforming metal, usually hot, into desired shapes with compressive force, with or without dies. (2) A shaped metal part formed by the forging method. 3.11 full depth thread: A thread in which the thread root lies on the minor cone of an external thread or lies on the major cone of an internal thread. 3.12 gauge point: An imaginary plane, in the pin threads, perpendicular to the thread axis, in which the pitch diameter equals the value in Column 5 of Table 25. 3.13 kelly: The square or hexagonal shaped steel pipe con- necting the swivel to the drill pipe. The kelly moves through the rotary table and transmits torque to the drill string. 3.14 kelly saver sub: A short substitute that is made up onto the bottom of the kelly to protect the pin end of the kelly from wear during make-up and break-out operations. 3.15 last engaged thread: The last thread on pin engaged with the box. 3.16 L BT : Length of threads in the box measured from the make-up shoulder to the intersection of the non-pressure ßank and crest of the last thread with full thread depth. 3.17 lower kelly valve (kelly cock): An essentially full- opening valve installed immediately below the kelly, with outside diameter equal to the tool joint outside diameter. Valve can be closed to remove the kelly under pressure and can be stripped in the hole for snubbing operations. 3.18 make-up shoulder: The sealing shoulder on a rotary shouldered connection. 3.19 non-pressure flank: The thread ßank on which no axial load is induced from make-up of the connection or from tensile load on the drill stem member. 3.20 pin end: The external (male) threads of a threaded connection. 3.21 pitch cone: An imaginary cone whose diameter at any point is equal to the pitch diameter of the thread at the same point. 3.22 pitch diameter: The diameter at which the distance across the threads is equal to the distance between the threads. 3.23 quenched and tempered: Quench hardeningÑ hardening a ferrous alloy by austenitizing and then cooling rapidly enough that some or all of the austenite transforms to martensite. TemperingÑreheating a quenched-hardened or normal- ized ferrous alloy to a temperature below the transformation range and then cooling at any rate desired. 3.24 reference dimension: Dimension that is a result of two or more other dimensions. 3.25 rotary shouldered connection: A connection used on drill string elements, which has coarse, tapered threads and sealing shoulders. 3.26 stress-relief feature: A modiÞcation performed on rotary shouldered connections that removes the unengaged threads of the pin or box. This process makes the joint more ßexible and reduces the likelihood of fatigue cracking in this highly stressed area. 3.27 swivel: Device at top of the drill stem that permits simultaneous circulation and rotation. 3.28 tensile strength: The maximum tensile stress that a material is capable of sustaining. Tensile strength is calcu- lated from the maximum load during a tension test carried to rupture and the original cross-sectional area of the specimen.
